One of the things that I enjoy is Do It Yourself (DIY) projects. Or maybe I shouldn't say I enjoy them so much as that I get great satisfaction out of taking a problem and fixing it without spending a ton of money. I attribute this in part to my parents, who with a family of girls on the farm, taught my sisters and I some practical skills that I wouldn't trade for anything!
So...when my dryer wouldn't start spinning until I took half of the wet load out, I knew it was time to do something. Having dealt with something like this years ago, Jim and I assumed it was a worn out belt. I got some professional advice first, and then I googled the part I needed and ordered a replacement on Amazon. (with free shipping because I ordered something for my Dad at the same time that put me over the free shipping amount!)
Yesterday afternoon I did some more research on good old Google, and set out to replace the belt. In case you've never seen inside your dryer, this is what it looks like with the top open. That black band that circles the drum about 3/4 of the way to the back, is the belt that turns the drum. Sure enough, a section several inches long was damaged...
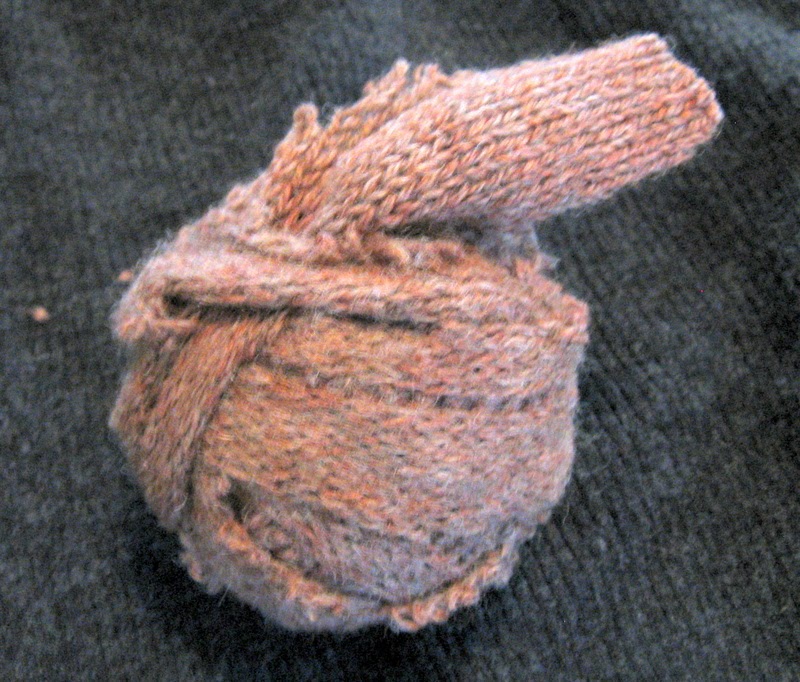
I cut the old belt, which was about to tear anyway, and pulled it out of the dryer...
Before I did that however, I stood on my head (almost) and looked inside, underneath the drum, to see how the belt was routed around the idler sprocket, etc. It wouldn't do any good to have a new belt without a plan!
After a bit of trial and error, the new belt was in place...
I replaced the front panel (after cleaning out a whole lot of lint!!) closed the top, plugged it back in and pushed it back into place against the wall...
I turned on the power, and...wait for it...it sounded awful!
What a let down! I didn't know what I had done wrong, but it was not even close to operable. It was milking time though, and I was tired. There was no way I was going to tackle it again before bed.
This morning, I put a call into a local appliance store, and talked to someone in the appliance repair department. He without hesitation, suggested that I had perhaps not seated the drum properly on the gliders inside the front panel. Of course he was right, and in about 20 minutes the dryer was running quietly!
This is not the first time that this man has helped talk us through a problem with a dryer, washer or dishwasher, in order to avoid a service call. They know that happy customers are repeat customers! Thanks to Ron at Martin's Appliance, another project was successfully completed! Total cost? $6.00. Total time? Give or take 1 hour. I'd say that was well worth it!
Oh wait...I found a quarter and a dime buried in the lint, so the total cost was only $5.65!
Showing posts with label DIY. Show all posts
Thursday, November 1, 2018
Monday, January 12, 2015
DIY Dryer Balls...
Have you ever used dryer balls?
Have you ever even heard of dryer balls? They're those wool balls that you put in with your laundry to help the clothes tumble and dry more efficiently in the dryer.
I hadn't until a few months ago, but I can tell you that I'm now convinced that they work...and that they're ridiculously easy to make!
You start with 100% wool...either old sweaters or wool yarn. I went with a friend to our local Goodwill store the other day, and scored a pile of 100% wool sweaters for just a few dollars. Our local store has a "bargain room" where all clothing is sold for $1.39 per pound. You've got to be willing to dig, but if you have time, it's worth it.
Adult sizes work best, as you get a larger piece of wool to work with...
Lay the sweater out flat, and cut out either the front or the back. You want to cut off the waist band and cut around the seams, ending up with a large, relatively rectangular piece of wool.
Then begin cutting in a spiral, starting at the outside edge. I like to cut a spiral about 1 1/2" - 2" wide. I tried it cutting a more narrow spiral, but I like the finished look better this way. When you get to the center, leave a small square of wool. This will be where you begin wrapping...
Bunch that small center square into a ball, and begin to wrap as tightly as possible...
When you're finished...wrapping the wool as tightly as possible as you go...tuck the ends in wherever you can...
The ball on the bottom is what it should look like when you get to this point. (the top ball is completely finished...just so you can see what the finished product looks like next to it)
Next...put your wrapped wool balls into an old nylon stocking as snugly as possible and tie knots tightly between them...
Then...toss them into the washing machine with some old towels or dark colors and wash in hot water. Throw them into the dryer (still snug in their stocking) with the wet laundry and start it up. The hot water and hot dryer "felts" or shrinks the wool and keeps the balls from unraveling.
I recommend running them through several hot wash and dry cycles, to be sure that they're completely felted and that they don't unravel in the dryer.
In the picture below, the white ball on the right is made of wool yarn. This was one of the first dryer balls that I made, and I wouldn't recommend this method. It was harder to get the yarn to "felt", and was considerably more expensive to make...
I usually toss at least three of the dryer balls into the dryer with my wet laundry. It shortens the drying time, and helps to prevent static. You can even occasionally put some drops of essential oils directly onto the balls if you want a lightly scented load of laundry. (It's a lot less expensive than fabric softener!)
I didn't wash the sweaters first, but that was a personal decision. I figured they'd be washed in hot water soon enough and get clean that way. If they are noticeably soiled, wash them in cold water and lay flat to dry before cutting, but don't wash them in hot water yet or they'll be felted before you want them to!
There you have it! A simple, fun project for a cold wintry day.
Subscribe to:
Posts (Atom)